Temporary PCB masking · see it before choosing a tape

Before Wave Soldering, Which PCB Areas Need a “Protective Coat”?

When you paint a wall, you do not paint into an electrical outlet. A PCB is the board inside an electronic product that carries components and circuits. In wave soldering, its underside passes over a rising wave of molten solder so the right points are joined in one pass. Contacts that must stay solder-free—including the row of gold-colored edge contacts known as gold fingers—need to be covered first.

1Circle the solder-free area2Map the full heat journey3Use data to narrow the choice4Let a real board give the answer

This page explains a public, general wave-soldering masking scenario. It does not show any customer’s production line or imply an existing commercial relationship.

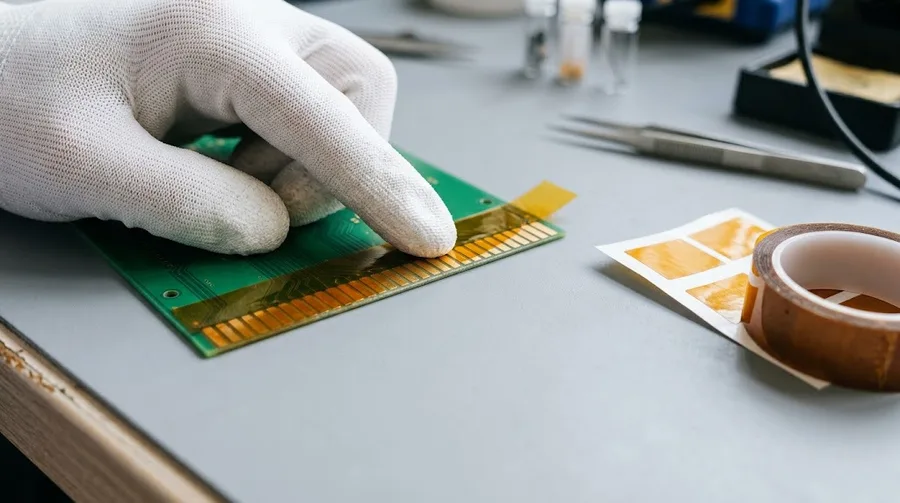
Neutral PCB masking demonstration with amber polyimide tape protecting selected contacts
15-second view: Mask → Heat → Peel → InspectThe matching video will be added next.
Like covering outlets before painting

Before choosing a tape, follow one PCB through the process.

You do not need to memorize material names. These four visual checks show what to tell us and how to test the first sample.

Amber polyimide tape placed across PCB gold fingers before heatSolder must not touch here
01
Step 1 · Circle the area

Where must solder never touch?

Just as you cover outlets and door handles before painting, first mark the gold-colored edge contacts and any other PCB contacts that must stay clean.

The same tape may be applied to gold contacts, the green board surface, or exposed metal. Those are different surfaces, so start with the real PCB instead of guessing.

The easiest start: send one board photo and circle every area that must stay solder-free.
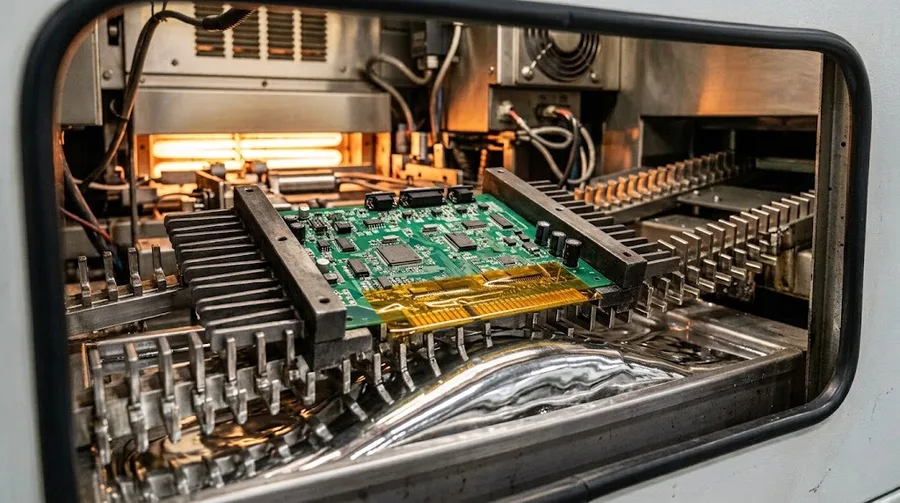
Neutral illustration of a PCB moving through a wave-soldering heat process
PreheatHow hot? How long?Solder waveHow hot? Contact time?Later heatA second cycle?
02
Step 2 · See how long it must take the heat

Saying “200°C” is like giving the oven temperature but not the baking time

One minute and one hour are not the same. A tape experiences more than one number on a temperature display.

It may go through preheat, contact the solder wave, and then face another heating step. Temperature and time at every stage help us judge edge lift, residue, and clean removal.

Tell us: preheat time, solder-wave temperature, contact time, and whether there is a second heat cycle.
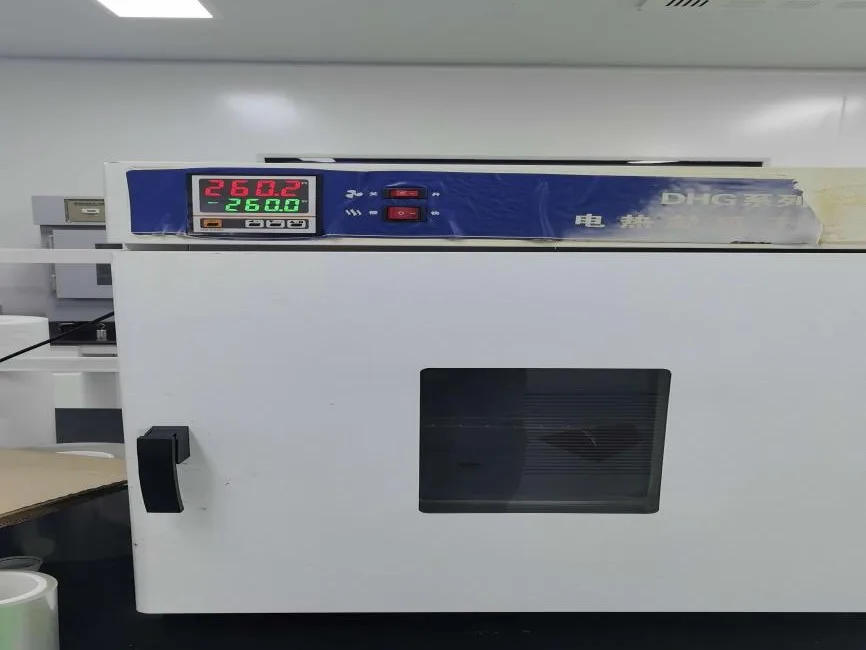
SIHO oven used to check polyimide tape under a stated temperature and time condition
PUBLISHED SIHO CONDITION200°C × 1 hourHelps decide what is worth testing—not a board-level guarantee
03
Step 3 · Data is a gate, not a guarantee

200°C × 1 hour means “worth testing,” not “guaranteed”

SIHO publishes a 200°C for 1 hour condition for this amber polyimide tape.

Think of that number like a shoe size: it helps rule out an obviously wrong choice, but you still need to try the shoe on your own foot. PCB surface, soldering materials, and the actual heat journey can change the result.

The right order: use published data to narrow the choice, then confirm it on your own board.
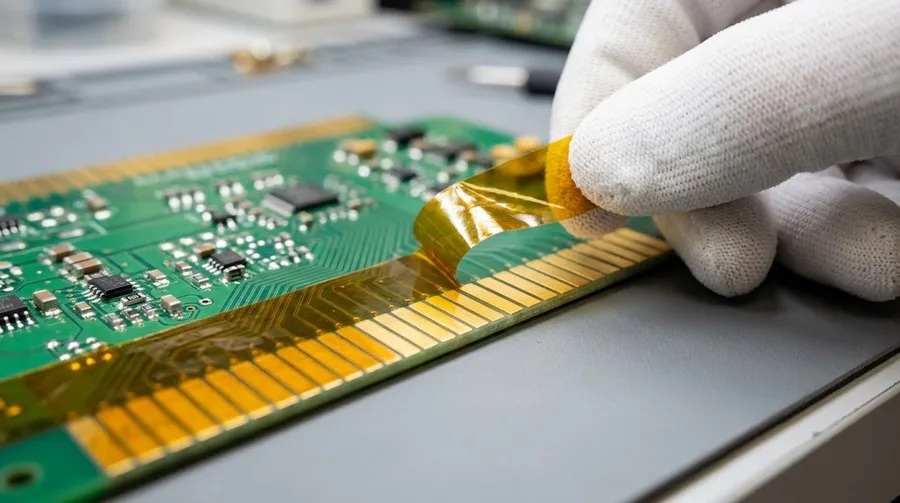
Amber polyimide masking tape being removed from PCB gold fingers
Peel at the planned time
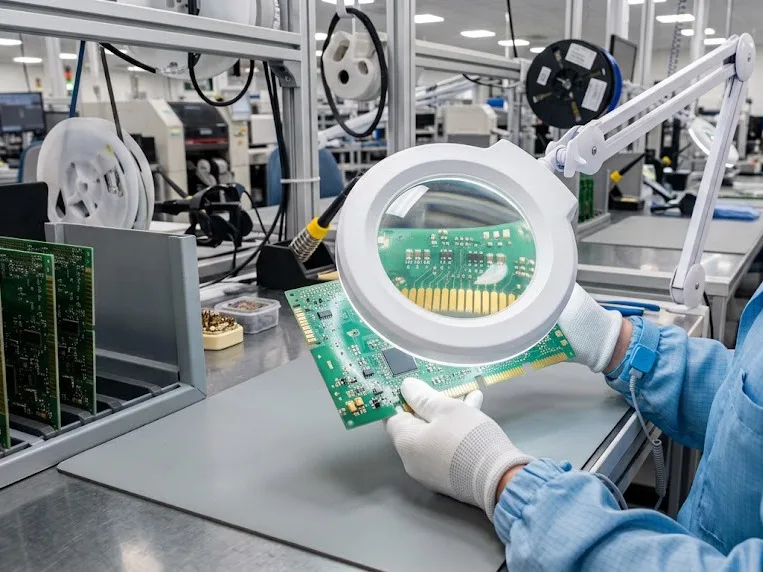
PCB contacts inspected after the real process trial
Let the real surface give the answer
04
Step 4 · Let a real board answer

Test one board before full production

Mask it, run the complete process, peel at the planned time, and inspect the protected area.

Do not stop at the words “heat resistant.” Check four real results: did solder stay off the target area, did an edge lift, was residue left behind, and was the removal timing right?

Target area clean?Any edge lift?Any residue?Removal timing right?
No long technical report required

Send one board photo and circle the areas that must stay solder-free

Then tell us the highest temperature, how long each heating stage lasts, and the approximate tape width. We can narrow the sample direction before you guess between product codes.

Daodao, SIHO technical contact for material selection and samplesDaodao Technical contact — material selection & samples

You do not need every technical term. A board photo, circled areas, temperature, and time are enough to begin.